
If a lathe doesn't have a suitable tool rest, you might need to adjust the angle on the top bar to correct for your awkward finger placement. You can glide your fingers back and forth with many tool rests that have flat spots. Some can be adjusted to fit most lathes while others offer multiple height settings. There are several important aspects to be aware of when choosing a toolrest for your lat.
Light source
If you're not familiar with the concept of a light source for a tool rest for a lathe, you're not alone. Many lathes include overhead lighting and fixtures that are attached directly to the ceiling. These lights are great for adding lighting to the machine, but they can be difficult to reach by operators. A tool rest equipped with an integrated lightsource is the best choice when you have a larger lathe.
A tool rest is a combination of a horizontal and vertical arm. On the tool arm's front side, mount a light source. Preferably an LED illumination strip. The wire 20 attaches the strip to an electricity source. An alternative is to provide a tool rest with no light source. This invention will enable the creation of an improved tool rest for a lathe that includes a light source.
Support element
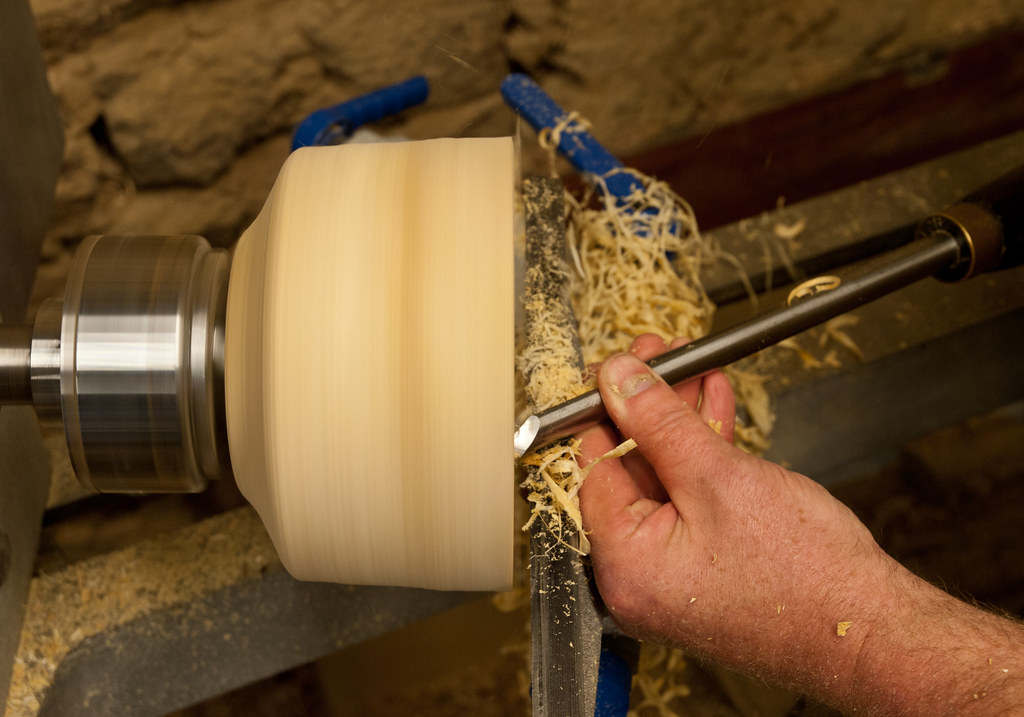
Support element to tool rest for lathe solves many problems related unexpected movement of toolrest. In the prior art, the support element for the toolrest is a point-to–point abutting arrangement. The friction force generated during tooling cannot support the toolrest because it must bear torque as well as axial force. This design poses safety issues. With the Support element for tool rest for lathe, the toolrest is stationarily supported against axial force and torque generated during tooling.
A toolrest for lathes usually consists of a bar that can be raised. The bar is used to provide restraint. It may also have grooves for positioning the tool. Some models have a handle to guide the tool while turning. These toolrests can be either metal or wood. The edges of wooden toolrests need to be smoothed. If you don't have the budget for a support component for your tool rest for lathe, you can still choose a wooden one.
Adaptive device
The adaptive device 100 is an outer cylindrical sleeve with an attached threaded segment and a header. It also has a threaded head. A portion of the shoulder 140 has been milled and forms a flat 160 for the set screws 370 to be inserted into the lathe-holder 310. The set screws of 370 press against the flat 160 to hold the adaptive device in its place within the lathe.
The Mortimer's pin rest claims that it is gated. However, the support rod rides nearly parallel to its tool shaft. Therefore, it should provide sufficient levering power. However, the gate of this device is exceptionally wide, which almost certainly suffers from cam locking. Although this tool rest is an improvement on standard tool rests, it has few benefits in terms of motion restriction and fine tool control. It is not a good choice for those who need complete tool control without sacrificing precision.
Cutting tool
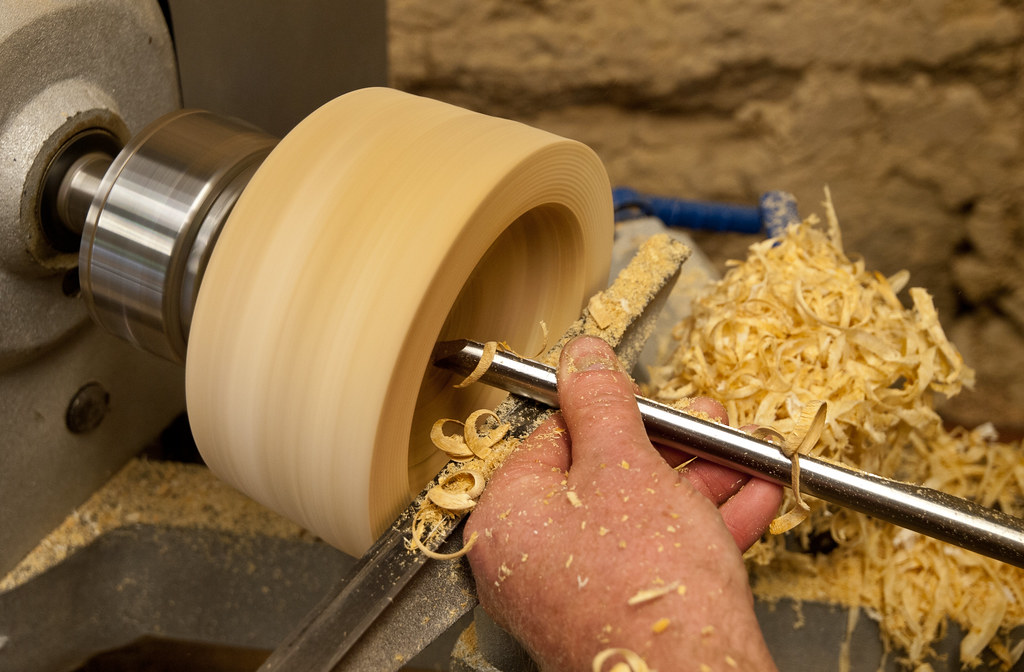
You should consider purchasing a cutting tool support for your lathe if you are just starting out in lathe work. This accessory allows you to hold your tool as close to wood as possible during its rotation. The body of a toolrest slopes backward from its forward edge. This helps to position your tool at the optimal angle to cut. With a file, you can finish the surface of the cutting tool rest to ensure a smooth working surface.
Flat spots are best for cutting tools rests for lathes. Your fingers won't rub against the flat surfaces. This tool rest prevents your hands from sliding off the cutting instrument. It keeps the workpiece stable while turning at high speeds. There are many sizes to choose from depending on your lathe. Ask a professional for help if you're not sure.
FAQ
How much money does a hobbyist have to put into getting started?
A lot of capital is required to purchase the necessary supplies and tools if you want to start your own woodworking shop. It's a good idea to buy a small tablesaw, drill press and circular saw. These items don't cost much so they won't break your budget.
Where can I get free woodworking plans?
Woodworking plans can be found online without the need to purchase books or magazines. Just search Google. You can search Google for "free woodworking" and hundreds of websites will appear allowing you to download plans.
Is it possible to open my own woodworking shop?
It is not easy to start a woodworking business. You will need to adhere to many legal requirements. But, this doesn't mean you need to go through all of the trouble of setting up your business. Many people choose to join existing businesses. This way, you only need to pay membership fees and taxes.
How can a woodworker start making money?
Many people want to open an online furniture business and are learning how to build it. If you are just starting to build furniture, there are many other ways to make money than selling on Etsy. You can sell at local craft fairs. Offering workshops could be another option for those who are interested in learning how to build their furniture. Perhaps you have some experience as a carpenter/builder and would like to offer your services, such as remodeling homes and creating custom pieces.
How can I organize my shop?
A designated place to store your tools is the first step towards keeping your workshop clean. Your tools will stay sharp and ready to go when they are free from dust and debris. Hang tools and accessories using pegboard hooks.
Statistics
- Overall employment of woodworkers is projected to grow 8 percent from 2020 to 2030, about as fast as the average for all occupations. (bls.gov)
- The best-paid 10 percent make $76,000, while the lowest-paid 10 percent make $34,000. (zippia.com)
- If your lumber isn't as dry as you would like when you purchase it (over 22% in Glen Huey's opinion…probably over 10-15% in my opinion), then it's a good idea to let it acclimate to your workshop for a couple of weeks. (woodandshop.com)
- The U.S. Bureau of Labor Statistics (BLS) estimates that the number of jobs for woodworkers will decline by 4% between 2019 and 2029. (indeed.com)
External Links
How To
How to stain wooden surfaces
Staining wood refers to applying chemicals to wood's surface. This chemical reaction causes the wood to change in color. This chemical reaction causes wood to turn from whiteish to brownish. Oak is the most common wood type for staining. However, you can also use other wood types.
There are many methods to apply stain to wood surfaces. Some methods involve mixing the stain with a solvent (such as turpentine) and then brushing or spraying the mixture onto the wood. You can also apply a solution containing water and dye directly to the wooden surface. It is possible to mix stain into varnishes and paints, making it part of the finishing coat.
Preparing the surface for staining wood is the first step. Clean the wood to get rid of any grease, dirt or other substances that might be detrimental to the stain's application. Sanding the wood smooths out rough spots and scratches. The next step is to determine the type of stain you would like to use. There are two basic kinds of stains: penetrating stains and non-penetrating stains. Penetrating stains penetrate deeper into the wood than non-penetrating ones, making them ideal for dark colors such as mahogany. Non-penetrating oils work best when used with light colors, like maple.
Once you have decided on the stain type that you want, get your tools ready. The best tool for applying stains is a paintbrush. It allows you to evenly distribute the liquid over the surface. It is a good idea to have rags on hand in case you need them to clean up any stains that may remain after you have finished painting. If you plan on mixing the stain yourself make sure that you have enough containers to hold the different components.
Once you have prepared your materials, start by cleaning the area where you plan to stain the wood. Use soap and warm water to remove dust and grime. Wipe the entire piece of furniture with a rag dampened with clean water. You should remove any debris, especially if your plan is to stain darker wood.
Next, apply the stain. The stain can be applied by spraying or brushing the stain onto one end of the furniture. Move slowly and carefully along the grain of your wood until you reach its opposite end. Keep the stain from dripping off the wood's surface. Allow the stain to dry completely before you move on to the next step.
Apply a clear polyurethane sealant to protect the painted surface. Apply three coats polyurethane sealer. Allow the third coat to dry overnight before sanding the final coat.