
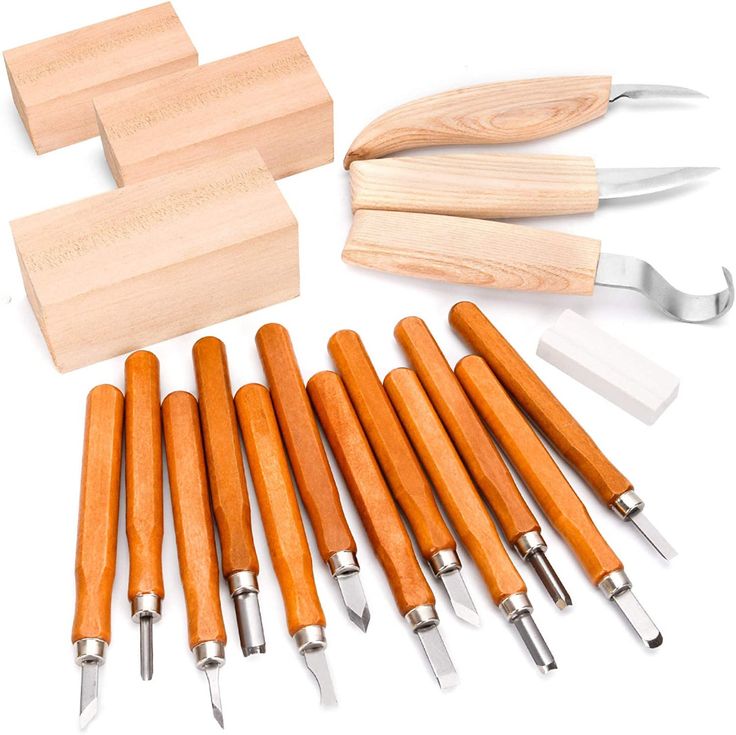
A beginner woodcarver might not know where to begin. Here are some tips and tricks to help you get started with your first animal carving job.
Dog
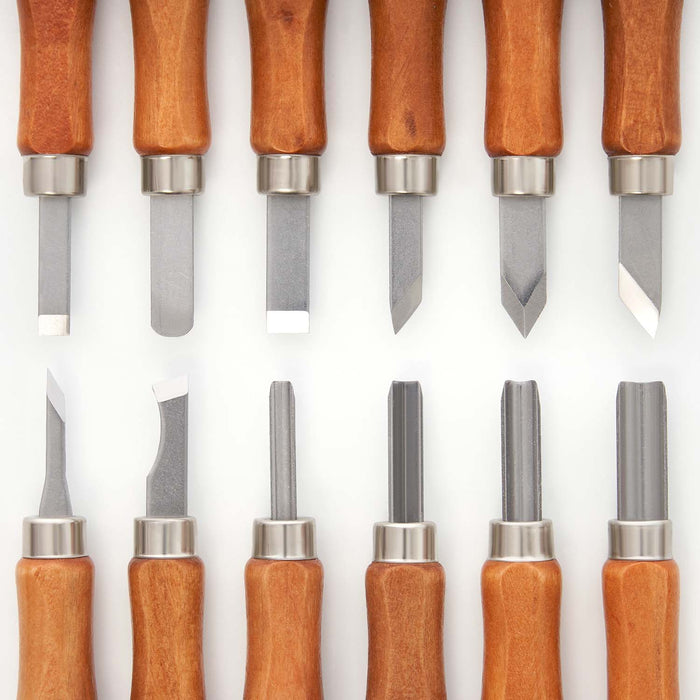
You can find many free patterns online for woodcarving dogs if you're an amateur. These patterns will help you to carve your dog in different sizes and styles. Here are some of the tools you will need to carve your dog. You'll need a bandsaw or coping saw, chisels (or a mallet), and time to sharpen. Once you have these tools, you can start carving.
Eagle
Native Americans regard the baldeagle as a traditional symbol for strength, courage, wisdom, and perseverance. Its primary purpose was to be the creator's messenger. It measures approximately 20 inches in size and 5 inches wide. The eagle has become a very popular choice for wood carvings. There are many woods that can be used to carve eagles, including modern and antique. This article will highlight some popular wood carving styles.
Bear
It is easy to carve a bear out of wood. Each line adds weight. For added visual interest, the bear's front paws are placed opposite the leg lines. You might consider buying a book that will teach you how to make a bear. James Miller's book provides a detailed explanation of the process.
Elephant
A wood elephant carving can add a unique touch to your home. 1stDibs offers 56 antique carved wood elephants, as well as two modern pieces. These pieces are popular since the 19th century. You have the option to choose from Art Deco or Mid-Century Modern styles. Or, you can pick a smaller piece that will add a subtle touch of elegance to your home.
Moose
You can carve a moose head or antlers by using moose antlers. Dowels can be attached to antlers and paddles of the moose. Push them in, or glue them in. After that, you can paint the moose with a walnut gel stain or use paint to color the moose.
Template for moose
A moose carving templates helps carvers to create realistic-looking carvings. You can use paints to color your moose carvings. After you've learned the basics it is simple to carve this creature. To finish the project, you can use a brush to add fur and eyes or a typhoon tool on a grinder to grind details. The Moose Template is ideal for beginners who are interested in carving an animal.
Bear template
You will need a template to start a bear wood carving. Next, you will need a Dremel tool for exploring the wood features. With this tool, you can use stop cuts to separate the legs from the lower body. To indicate the split, you can make V-cuts in your legs. The underbelly can be rounded after the ear and leg pieces are completed. You should leave enough space in the back for the bear to be shaped.
Eagle template
Three detailed templates are needed to carve an adult eagle. One is for actual carving. The other serves as your work paper template. You can cut it off to make transfer patterns. The third template will serve as a reference. Next, use the tools to cut the main lines of your template. You should ensure that the lines are as close as possible to the pattern line. Make sure you align all marks.
Template for mice
Wood carving is a fun hobby. There are many different designs that you can choose from. This will make the task easier. There are printable patterns that can help you. For beginners, you can begin with a basic geometric pattern. As you gain experience, you will be able to move on to more complex patterns. Once you've mastered the basics, you'll be on your way to creating the perfect mouse.
FAQ
What is the main difference between plywood or particle board?
Plywood is a combination of layers of wood, which are then pressed together under high pressure. Plywood can come in many thicknesses and is used for flooring and cabinets. Particle board consists of sawdust mixed and resin. The resin is then compressed into large blocks. It's often used for home renovation projects. Both boards are strong and can be easily cut.
Do you know anything more about woodworking?
It is easy to underestimate how much work it takes to make furniture. Finding the right wood for the project is the hardest part. There are so many options for wood, it can be difficult choosing the right one.
The problem with wood is that not all wood properties are the same. Wooden can split or crack, while some woods may warp. You must take these things into consideration before purchasing wood.
Does it take a genius to make woodworking work?
No. Woodworking does not require any special skills. Anyone can learn how to use basic power tools and techniques to create beautiful works of art.
How do I get started with woodworking?
It is best to actually build furniture to learn how to make it. While you will need tools and make mistakes, you will eventually master the art of building furniture.
Choose a project that interests you. It can be as simple as a small box, or as complex as a complete entertainment center. Once you've decided on a project, find a local woodworker who specializes in that kind of work. Ask him or her for advice on what tools you'll need and where to find them. Perhaps you could ask if there is someone else who does this type of work.
Where to buy Hardwood Lumber
Home Depot has hardwood lumber for sale. They sell all kinds of wood products, including flooring, cabinets, furniture, etc.
There is also a wide selection of engineered hardwoods, including Ipe (Araucaria Angustifolia), Brazilian Cherry(Pau d'Arco), Mahogany (Swietenia Mcrophylla).
These woods can also be purchased online by simply searching Google for "hardwood timber"
Where can I locate free woodworking plans
Free woodworking plans are available online. You don't even need to buy books or magazines. Search Google for free woodworking plans. Just enter "free woodworking" into the search bar, and you'll see hundreds of websites where you can download free plans.
How can a woodworker start making money?
Many people want to open an online furniture business and are learning how to build it. However, if you're just getting into furniture building, there are other options than selling on Etsy. Sell at craft fairs or other local events. Offering workshops could be another option for those who are interested in learning how to build their furniture. If you have the experience to be a carpenter, builder, or a designer, you may consider offering your services in remodeling homes or creating custom pieces.
Statistics
- If your lumber isn't as dry as you would like when you purchase it (over 22% in Glen Huey's opinion…probably over 10-15% in my opinion), then it's a good idea to let it acclimate to your workshop for a couple of weeks. (woodandshop.com)
- Average lumber prices rose about 600 percent between April 2020 and May 2021. (familyhandyman.com)
- Overall employment of woodworkers is projected to grow 8 percent from 2020 to 2030, about as fast as the average for all occupations. (bls.gov)
- Most woodworkers agree that lumber moisture needs to be under 10% for building furniture. (woodandshop.com)
External Links
How To
How to join two pieces of wood together without nails
Woodworking is a hobby that many people enjoy doing. Woodworking can be a fun hobby because you can work with your hands to make useful objects from wood. However, there are times when you want to join two pieces of wood together without having to use nails. This article will teach you how to do this to keep your woodwork projects looking great.
The first thing you'll need to do is cut off any rough edges from your pieces of wood before joining them together. You don't want to leave sharp corners that could cause problems later on down the road. Now you can start gluing the boards together.
If you are working with hardwood, only one side should be glue. For softwoods like cedar and pine, glue should be applied to both sides. Once the glue has dried, press the boards together until they are fully adhered. After applying the glue, let dry the boards before proceeding to the next stage.
After you have glued the boards together, drill holes in the joints where you intend to place screws. These holes will differ depending on the type and size of screw you are using. For example, if you're going to use a 1/2-inch wood screw, then you should drill a hole that is at least 3/4 inches deep.
After drilling your holes, drive the screws into the board's backside. Avoid hitting the board's top surface. Otherwise, you could ruin the finish. Don't drive the screws too far into the end. This will avoid splitting in the wood's ends grain.
You'll need to protect your completed project from the elements. You can seal the furniture pieces or cover the top. You'll want a product that lasts for many years. Oil-based varnishes are, among others, polyurethanes shellac, laquer, and other oil-based products.
These products can be found in most home improvement shops. It is important to ensure that you purchase the correct product for the job. Don't forget to keep in mind that some finishes are toxic. Always wear protective gear when handling any of these finishes.