There are many functions to a lathe tailstock that you should be familiar with. The types of tailstocks include Jacobs chuck taper and New Haven carriage. These stocks are essential to your work quality and help keep the chuck in its place when turning. We will be discussing the different types and functions of tailstocks in the following article. Before you purchase one, it's important to understand what each type is. Find out more by reading the following!
Functions of the lathe tailstock
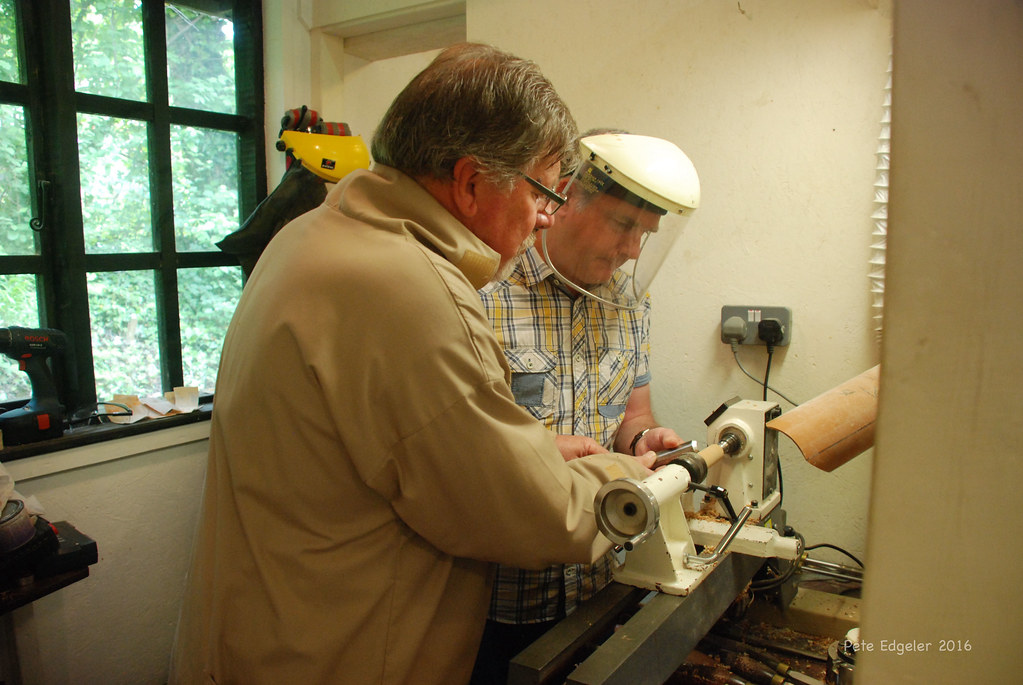
A lathetail stock is a piece or machine tool that fits with the center section of a turning lathe. It holds and rotates a workpiece. The tailstock is used in milling machines as well. It is designed to support work pieces with their free ends at the center of operations. The tailstock can be adjusted in length so it can support different work lengths. Usually, the tail stock and the chuck are attached to each other.
In order to properly use a lathe, it is essential to learn how to use the tail stock. It is important to follow safety guidelines when using the lathe. It has many useful functions. The tailstock is used to secure the workpiece to it and clamp workpieces. It is also useful in setting up a cutter tool.
Types de lathe tailstocks
There are two types of lathe tailstocks available: stationary and sliding. A sliding tailstock is convenient for quick tool changes and helps keep the spindle aligned with the workpiece. A stationary tailstock is better for larger machines, and revolves around the center point of the lathe. Each type has its own advantages and disadvantages. These differences are discussed below. Let's look at the most popular types of lathe tailstocks.
Tailstocks are used for parts with a higher length-to-diameter ratio than the diameter. This is because a higher L to D ratio increases the risk of deflection. A tailstock should have a lower L toD ratio for work pieces that are less than 1 in diameter and longer than 6 in length. A tailstock should be used if the L to D ratio of a part is higher than 3:1.
Jacobs chuck taper

Jacobs chucks have an arbor that is JT6. The other end has a Morse Taper 3 that is used for friction fitting. A Jacobs Chuck can typically be used to replace the chuck arbor. You can also buy a chuck Arbor with a JT3 taper, and mount it on the tailstock of your Lathe.
An all-purpose 5/32" metric Jacobs Chuck can be used on most lathes. It fits drills from four to eighty millimeters. The chuck Arbor is a Morse taper, which does not need to be cut to fit your tailstock. It fits the Jet 1014 miniature wood lathe. The tailstock arbor has a chuckkey and a drawbolt, which includes a washer.
Jacobs chucks can be used to drill holes. It is important to keep the arbor straight to avoid binding. The quill should be backed out periodically to clean any dust or shavings. This will keep your bit from heating up and filling the shop with smoke. A clean hole will also prevent your Jacobs chuck from coming out of your tail stock.
New Haven carriage

Early American carriages used a square spindle, or a rectangular casting tailstock. Similar models were made by Ames Mfg Co. as well as Alexander Thayer & Hannibal Houghton. The Alexander Thayer & Hannibal Houghton is one of the most prominent examples of tailstocks of this period. It was displayed at the 1853 Mechanics Exhibition, Worcester, Massachusetts. The design featured a tall instrumentpost that could slide into large T-slots.
The tail-stock supports the end of the work that is opposite the head-stock. It is a central point for moving various tools. A clamped tailstock also carries the endof boring bars. To be effective, a tailstock must be robust and have a spinning spindle. The tail-stock should not only provide support but also be capable to set the center line at the right angle.
FAQ
How do I calculate woodworking prices
It is essential to calculate costs as accurately as possible when pricing any project. Always ensure you are getting the best possible price for materials. Also, consider all other factors that can affect the price of your projects such as skill level, experience, time and cost. Our guide to the average household DIY task price will give you an idea of how much it costs to complete different types of woodwork projects.
What is the hourly rate for a woodworker?
Hourly rates for professional woodworkers vary depending on many factors such as skill, experience, availability, geographical location, and other variables.
An average hourly rate for skilled woodworkers ranges between $20-$50.
A less experienced woodworker may charge as little as $10 an hour.
What's the difference between a hobbyist and a professional woodworker?
Hobbyists enjoy creating things out of wood. Professionals tend to focus on the quality. Hobbyists take great pride in their creations, and share them with family and friends. Professionals spend hours researching design ideas before starting to work on a project. They will pay attention to every detail, from selecting the best materials to finishing the project perfectly.
Where can I find free woodworking plans?
You don't need to purchase any books or magazines to find free woodworking plans. You only need to Google search. Search Google for "free woodworking" to see hundreds of sites that provide free plans.
Statistics
- Overall employment of woodworkers is projected to grow 8 percent from 2020 to 2030, about as fast as the average for all occupations. (bls.gov)
- Average lumber prices rose about 600 percent between April 2020 and May 2021. (familyhandyman.com)
- Most woodworkers agree that lumber moisture needs to be under 10% for building furniture. (woodandshop.com)
- The best-paid 10 percent make $76,000, while the lowest-paid 10 percent make $34,000. (zippia.com)
External Links
How To
How to stain hardwood
Stain wood is a process that involves applying chemicals to the surface of wood, which changes its color. This chemical reaction causes the wood color to change from white and brownish red. Oak is the most commonly used wood for staining, but other woods can also be stained.
You can apply wood stains in many different ways. Some methods involve mixing the stain with a solvent (such as turpentine) and then brushing or spraying the mixture onto the wood. Others use a solution made up of water and dye, which is then applied directly onto the wood. You can also mix stains with varnishes or paints so that they become part the finish coating.
The first step in staining wood is preparing the surface. Clean the wood to get rid of any grease, dirt or other substances that might be detrimental to the stain's application. Sanding the wood smooths out rough spots and scratches. Then you must decide what kind of stain you want to use. There are two main types of stain: non-penetrating and penetrating. Penetrating stains penetrate deeper than non-penetrating stains, which makes them great for dark colors like mahogany. Penetrating stains are best paired with lighter colors, such as maple.
After choosing the type and application method you prefer, gather your tools. You can use a paintbrush to apply stains. This allows you spread the liquid evenly over the surface. A few rags are also handy to clean up any spillages after you have finished painting. If you are planning to mix your stain, ensure you have enough containers for each component.
After you have prepared the materials, you can clean the area where you want to stain the wood. Use warm water and soap to clean away dirt and dust. Wipe the entire piece of furniture with a rag dampened with clean water. Take care to remove all debris and dirt, especially if you are planning on staining darker wood.
Apply the stain next. Start at one end of the piece of furniture and brush or spray the stain onto the wood. Slowly and carefully move along the grain of wood, slowly but steadily, until you reach the other end. You must be careful not to allow the stain to drip off the wood's edges. Allow the stain to dry completely before you move on to the next step.
A coat of clear polyurethane sealing agent is applied to protect the paint. Three coats of polyurethane sealing agent are required. Allow the third coat, which should dry overnight, to dry before sanding.